
Maintaining clean and free-flowing plumbing is essential for every household. Over time, pipes can accumulate mineral deposits, grease, and other residues that slow down water flow or cause unpleasant odors. While commercial drain cleaners can do the job, they often contain harsh chemicals that may damage your pipes and harm the environment. As an eco-friendly and cost-effective alternative, salt offers a surprisingly effective way to clean your plumbing system.
In this guide, we’ll walk you through the step-by-step process of using salt to keep your drains clear and your plumbing running smoothly without harmful chemicals.
Why Use Salt for Plumbing Cleaning?
Salt is not just a kitchen staple; its crystalline structure acts as a mild abrasive that helps loosen debris inside pipes. Salt can also react with grease and soap scum, breaking them down over time. When combined with hot water and baking soda, salt becomes an even more powerful natural cleaner. Additionally, this method is safe for septic tanks, environmentally friendly, and very affordable.
Materials Needed
- 1 cup of table salt or rock salt
- 1 cup of baking soda (optional for enhanced effectiveness)
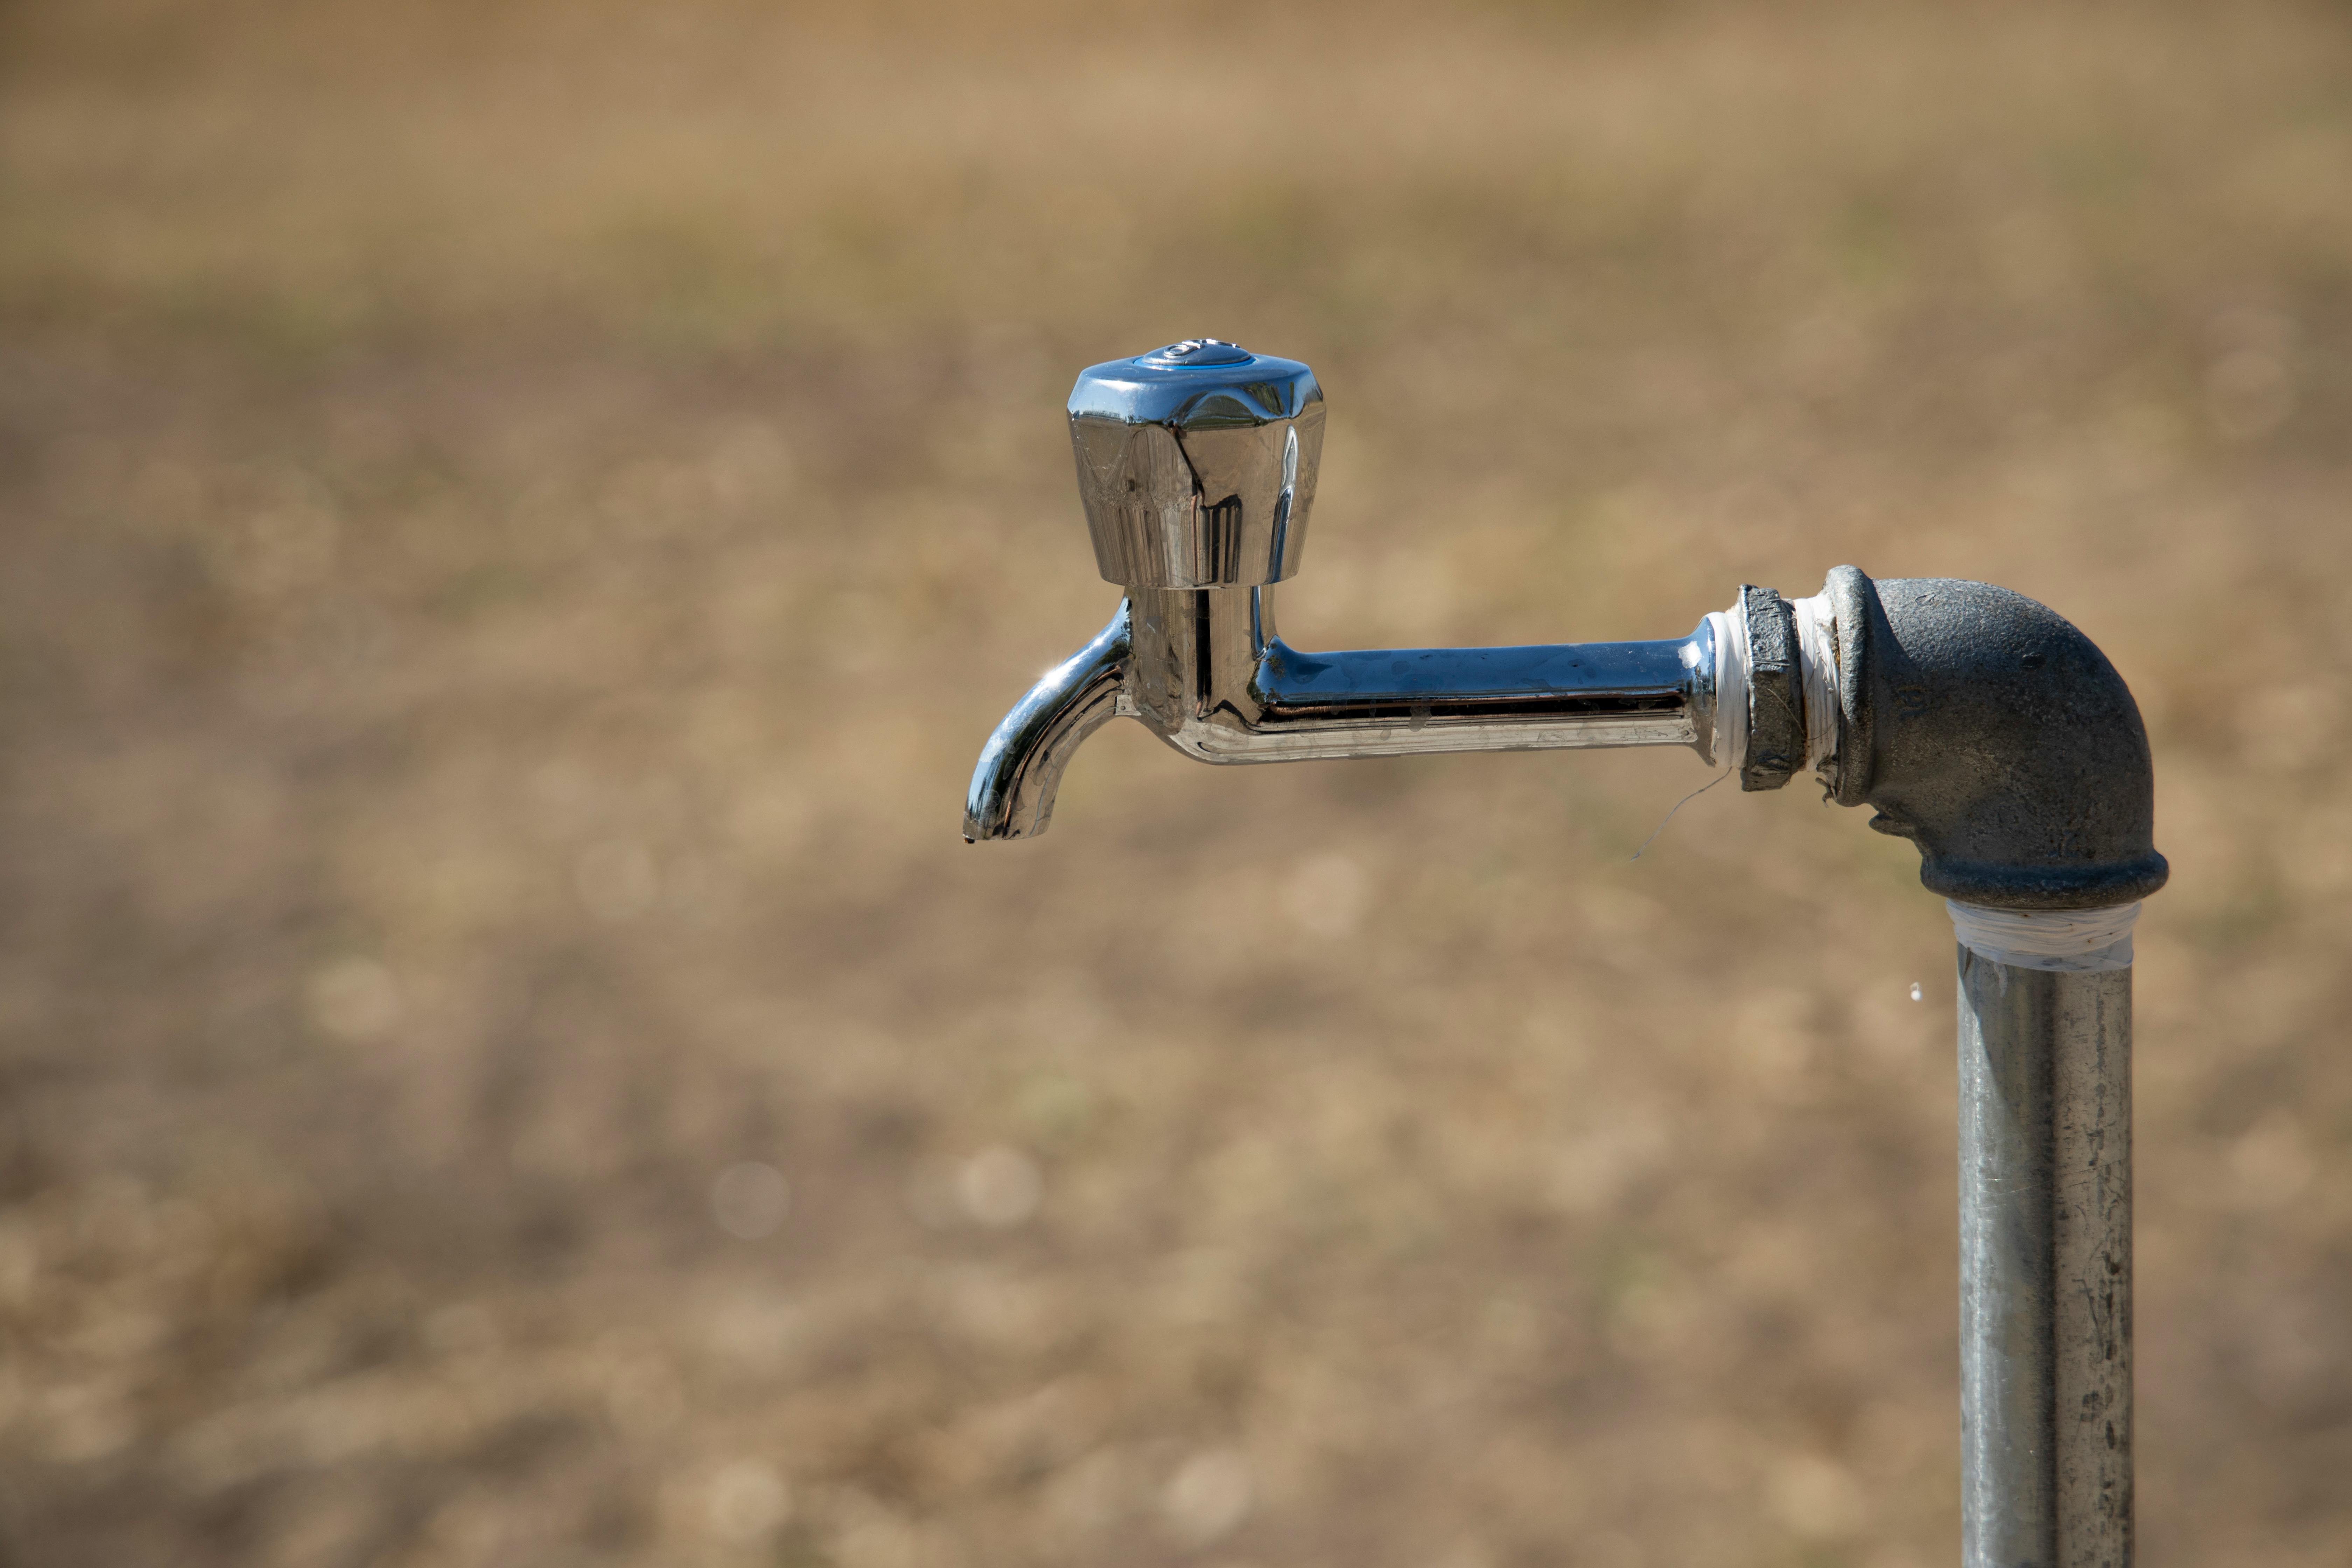
- Boiling water
- Funnel or measuring cup
Step-by-Step Instructions
Step 1: Prepare Your Cleaning Mixture
If you choose to enhance the cleaning power, mix 1 cup of salt with 1 cup of baking soda in a bowl. This combination helps to break down grease and grime more effectively.
Step 2: Remove Standing Water
Before applying the mixture, try to remove any standing water in the sink or drain you want to clean. This lets the salt and baking soda reach the clogged areas directly without dilution.
Step 3: Pour the Mixture into the Drain
Using a funnel or measuring cup, pour the salt (or salt and baking soda mixture) directly into the drain slowly. This allows the abrasive particles to settle and work on the buildup.
Step 4: Add Boiling Water
Boil about 4 cups of water. Carefully pour the boiling water down the drain slowly to help dissolve the salt and flush away loosened debris. Be cautious to avoid splashing to prevent burns.
Step 5: Let It Sit
Allow the mixture to work for at least 30 minutes. For stubborn clogs, leaving it overnight can yield better results.
Step 6: Flush the Drain
After the waiting period, flush the drain with warm tap water for a minute or two. This helps wash away remaining residue and restores water flow.
Additional Tips for Effective Plumbing Maintenance
- Repeat this cleaning method monthly to prevent buildup.
- Avoid pouring grease or coffee grounds down the drain to reduce clog risks.
- Consider using a hair catcher in shower drains to prevent hair accumulation.
Using salt as a natural plumbing cleaner is an easy and safe way to maintain your home’s drainage system. It not only saves money but also supports sustainable home care practices. Give it a try during your next routine cleaning and enjoy a fresher, cleaner plumbing system!


I tried this method last week and was surprised how well it worked. My kitchen sink drain smells much fresher now!
Great advice! Salt and baking soda together really do wonders for minor clogs and keeping pipes clear.
Love this natural approach. I’m always looking for ways to avoid harsh chemicals around my kids.
For tougher clogs, you might have to repeat the process a couple of times, but it’s definitely worth it before calling a plumber.